Guide to Your First Project
In this chapter, I will provide you with a step-by-step guide for your first project.
Table of contents
Step 1: Creating a new baseline
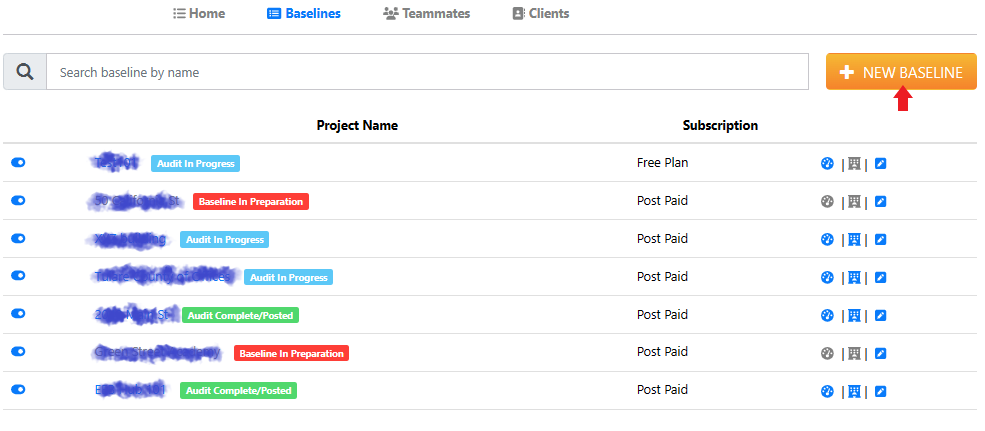
To start a new project, simply go to the Baselines tab and click on the + NEW BASELINE button. Assign a name and description to your building, along with any other required information. It is important to provide an accurate address for your building, as this will help to correctly locate its geometry on a digital map.
Choose the appropriate electric data type and click Save Changes to create a baseline.
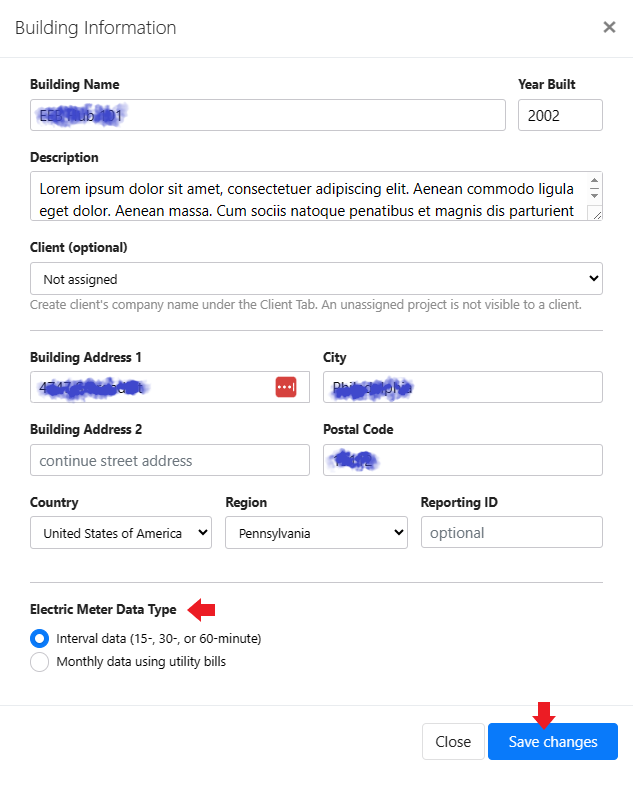
To edit the building information you just entered, click the vertical three dot button, then select the Edit Building Info button.

Step 2: Completing data entry
Once you have established your baseline, you will need to provide the following four inputs:
- Meter Data - This involves either uploading a file containing interval data or entering monthly data manually.
- Geometry - You will select your building on a digital map.
- HVAC - This requires you to choose a configuration that best represents your predominant HVAC system.
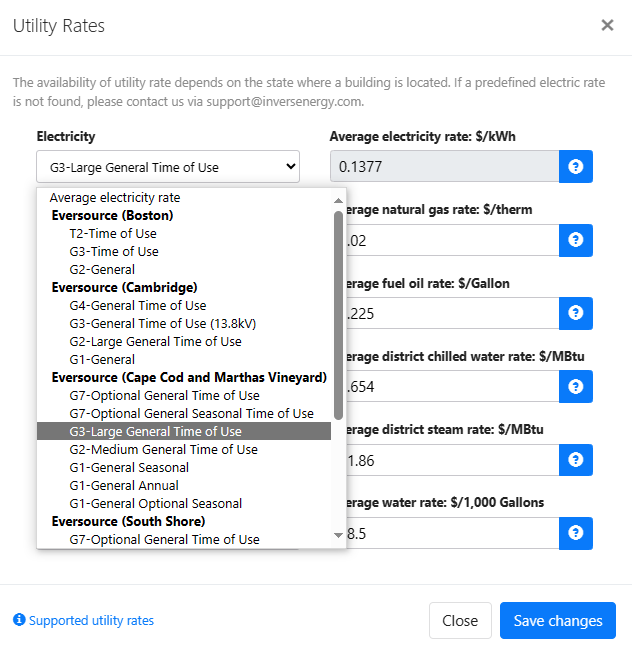
- Rates - You will need to select or enter utility rates for each energy source.

The status of the baseline:
Not subscribedThe baseline has been created, but has not been subscribed to yet.Ready to subscribeThe baseline is in the cart, but has not been paid yet.SubscribedThe baseline has been subscribed.OutdatedThe baseline has not yet been calibrated.Audit in progressThe baseline has been calibrated and is ready for energy auditing.Audit postedThe energy audit has been completed and can be viewed by teammates.
Meter Data
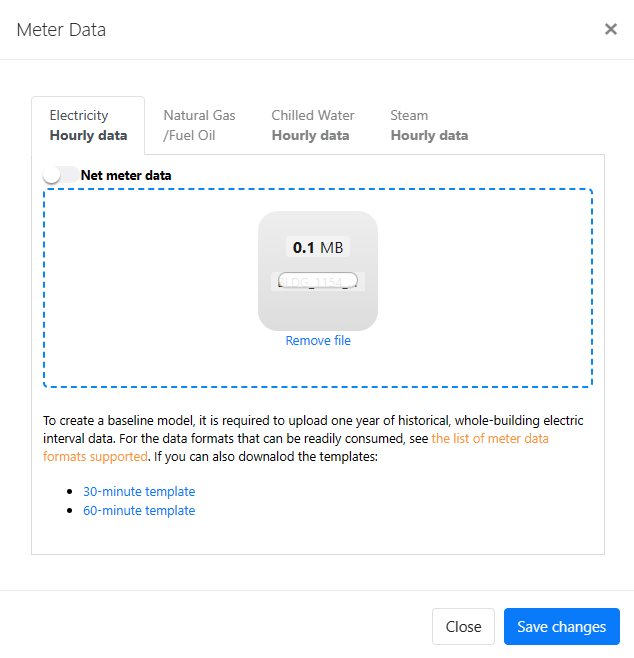
If you have hourly data, upload it and our platform will recognize its format automatically. See a list of supported meter data formats a list of supported meter data formats.
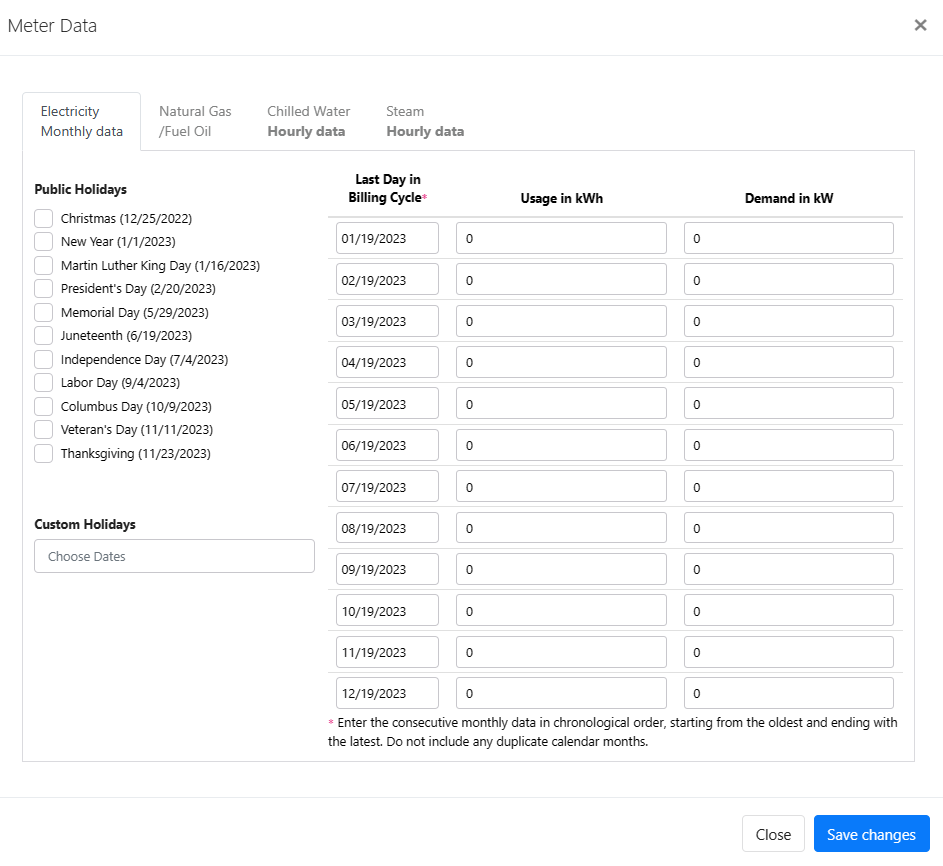
To enter monthly data, please complete the required fields below. If natural gas is being used but data is unavailable, enter zeros not to be used during calibration.
Geometry
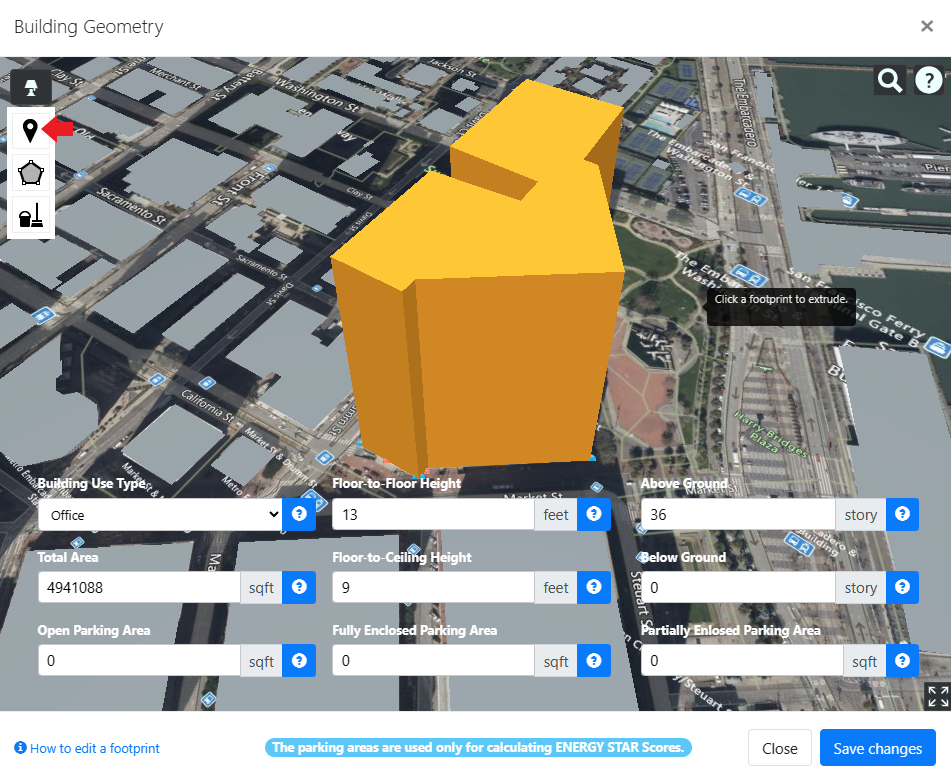
Next, select your building on a map. If you believe the estimated building area is incorrect, manutally update the area field.
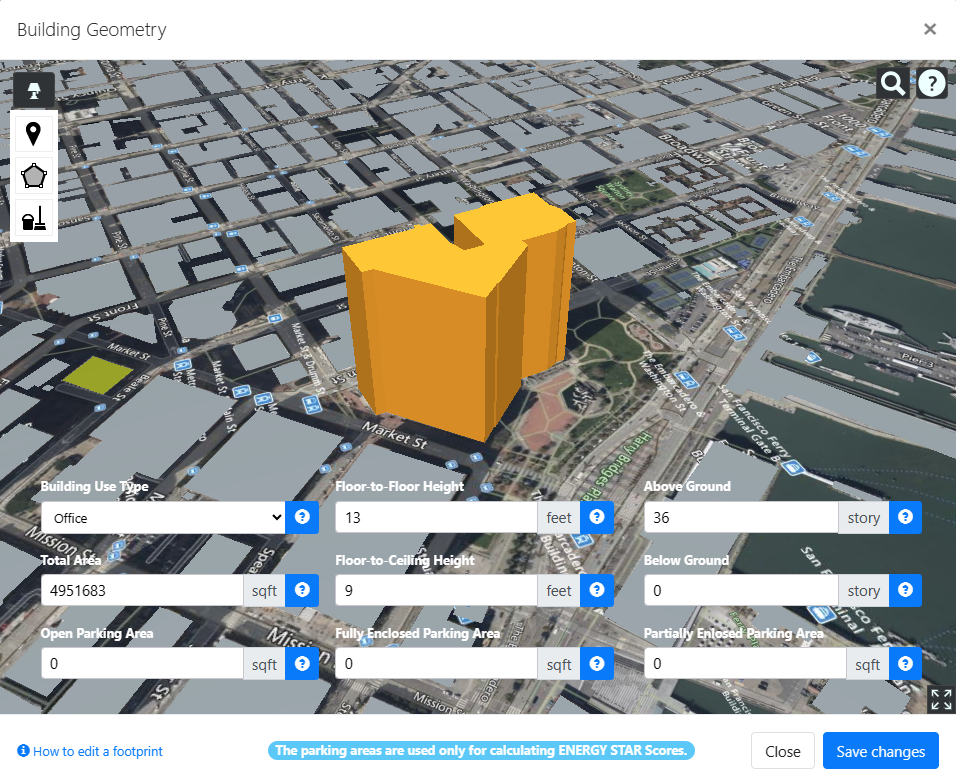
What you need to provide in the Geometry Section includes:
- Building Use Type
- Floor-to-Floor Height
- Floor-to-Ceiling Height
- Number of Floors Above Ground
- Number of Floors Below Ground
- Total Building Area
- Parking Area - This information is only required for Energy Star Score calculations
The pre-processed footprints are only available for US buildings. To edit buildings in Canada, manual editing is required for each footprint.
If your building is a recent construction and cannot be found in our GIS database, you can select a nearby building’s footprint for use.
Editing a building’s footprint
Adding markers will increase the number of segments and computation time required, so it is highly recommended to simplify the footprint by removing any unnecessary markers.
To edit your building’s footprint, follow these steps:
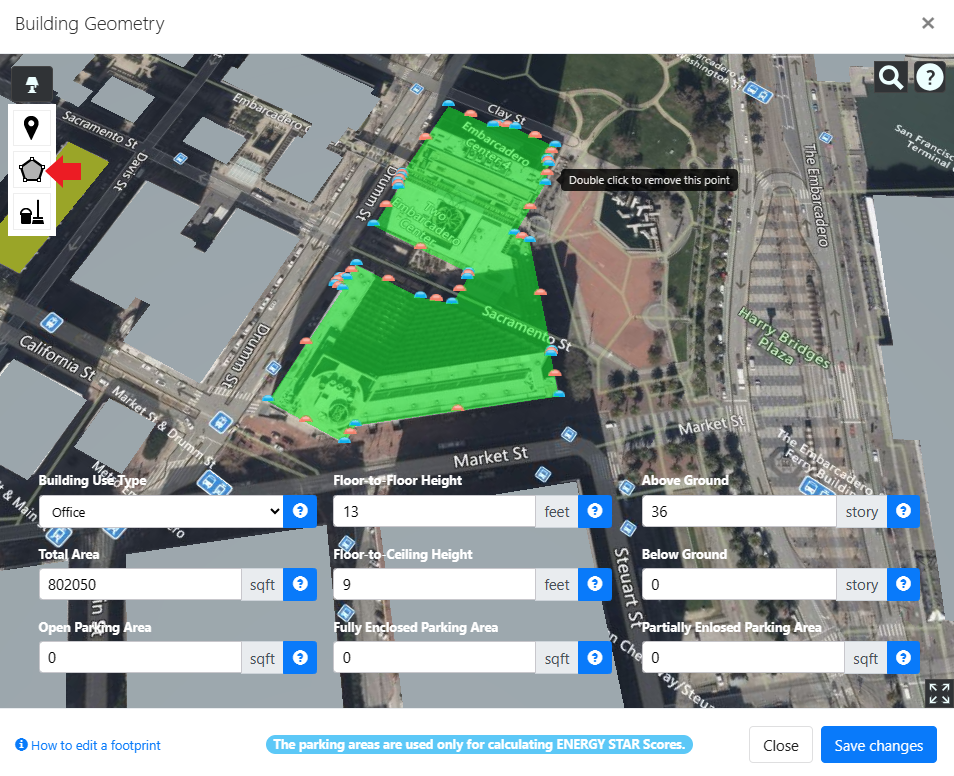
Click on the
edit/createbutton in the polygon edit tool and choose the footprint you want to edit.
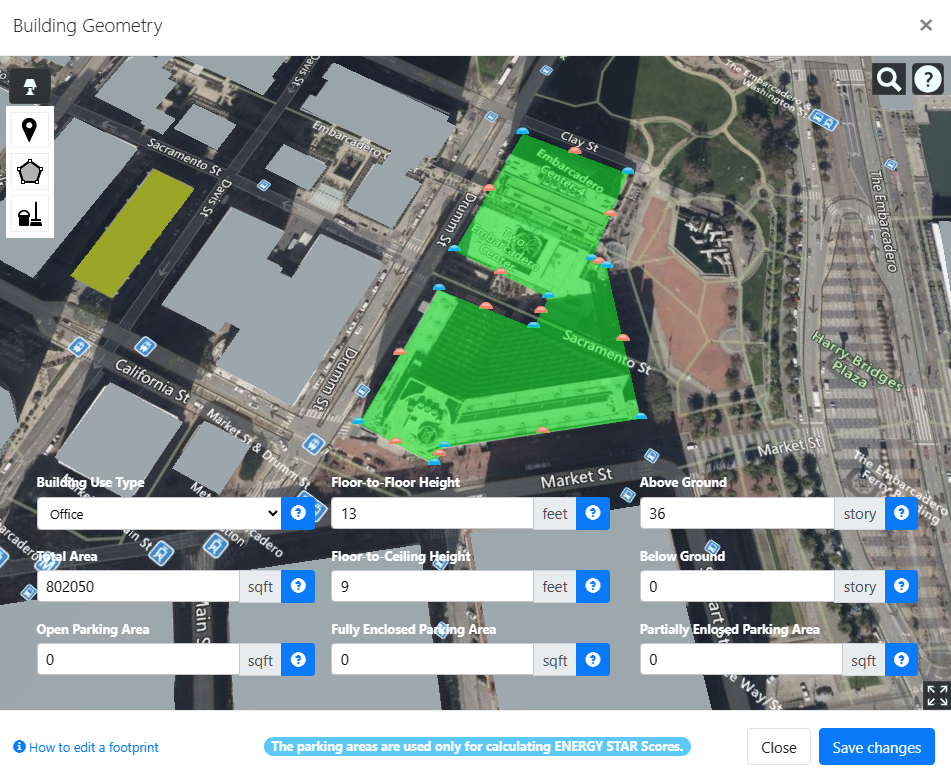
The footprint outline will enter edit mode, allowing you to add, move, or delete markers. To delete a blue marker, simply double-click on it.
Once you are done with the editing process, click on the
selectbutton in the polygon edit tool and select the edited polygon.
HVAC System
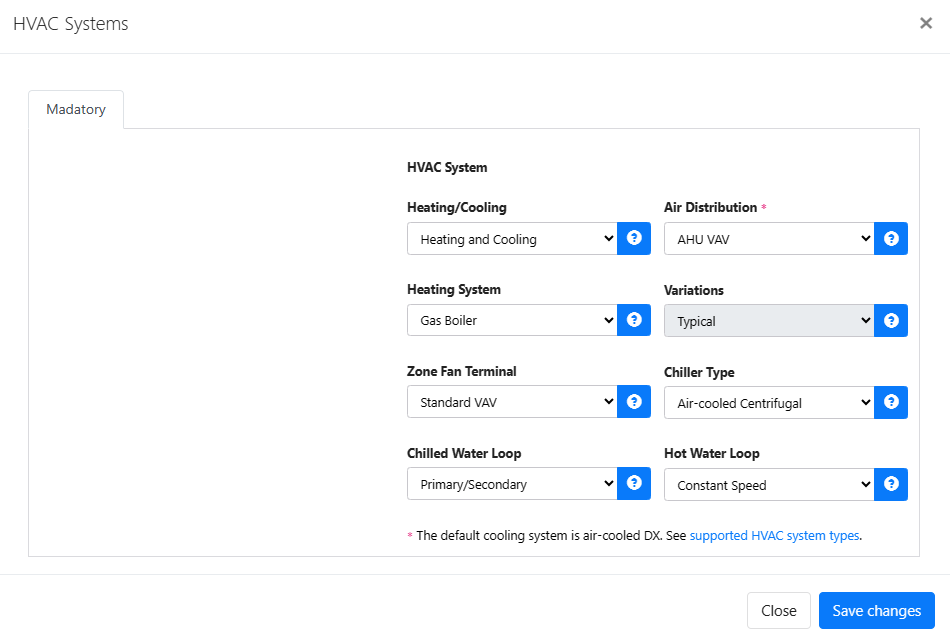
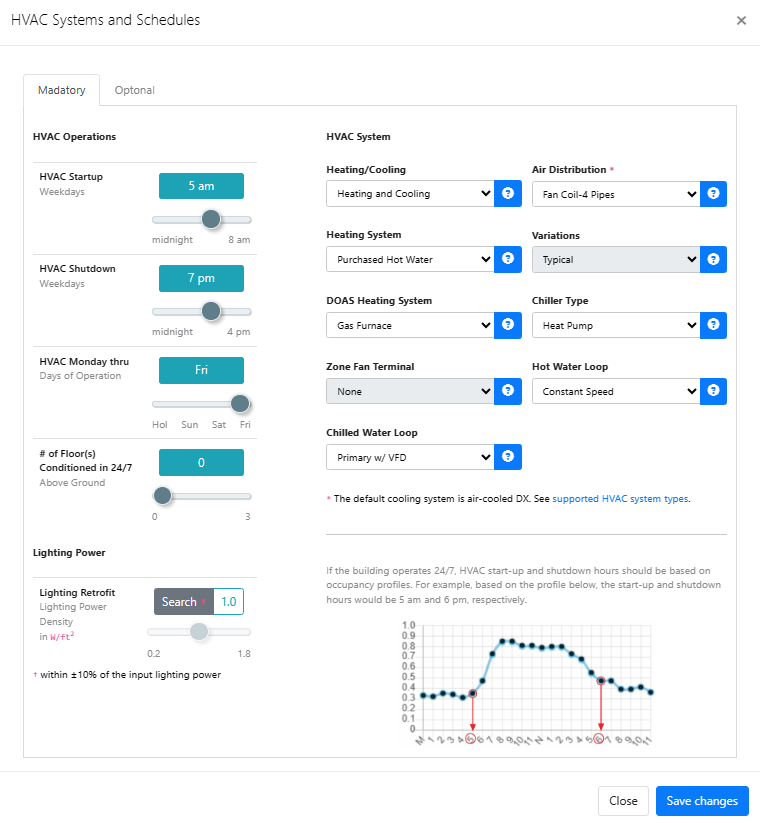
To customize an HVAC system, simply choose your preferred options from the pull-down menus provided. You can configure the standard HVAC system by selecting the appropriate heating and cooling systems from the available choices in the Heating System, Variations, Zone Fan Terminal, Chiller Type, Chilled Water Loop, and Hot Water Loop menus. Any irrelevant options will be automatically grayed out, making it easier for you to choose the right configuration for your needs.
HVAC system options with hourly data
HVAC system options with monthly data
Supported HVAC system types
Air Distribution System types Implemented Tested Single Zone - Packaged Rooftop Air Conditioner (DX)
- Single zone DX Unit
- AHU (Air handing unit) with chilled water coilsYes Yes Packaged VAV Packaged Rooftop VAV Yes Yes Packaged Terminal Unit Yes Yes AHU VAV VAV with chilled water coils Yes Yes Chilled Beam AHU VAV with chilled beams Yes No Fan Coil-Two Pipes Yes Yes Fan Coil-4 Pipes Yes Yes Air-cooled VRF Air-cooled Variable Refrigerant Flow Yes Yes Penthouse DX Yes Yes Water Source Heat Pump Yes Yes Multizone - DX Yes No Multizone - CHW Yes No
Utility Rates
If your utility company has not provided us with your utility rates, you can use the default average rate we offer or your average rate.
Step 3: Running a calibration
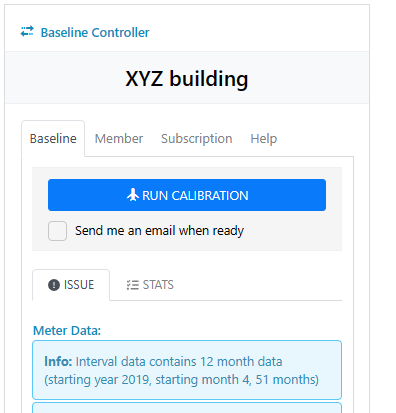
After entering all the necessary inputs, you should click on the Validate User Inputs button. This will check all your inputs, as well as historical weather data, incentive rates, and retrofit costs. If no errors are detected, you will see a blue button on the baseline controller. Clicking on this button will initiate the calibration process. Calibration will take approximately 20 minutes, depending on the complexity of the model.
Step 4: Analyzing Benchmarking Results
To understand the building’s performance, navigate to the Benchmark on the left menu.
Step 5: Performing a Energy Audit
To perform an energy audit, navigate to the Energy Audit on the left menu.
